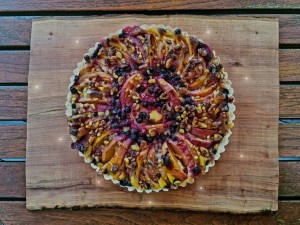
Recipe for a Fairy Fine Pixie Pear Tart
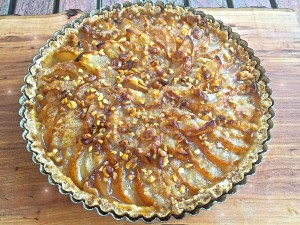
Yum, there is nothing quite like a Pixie Pear Tart made from freshly picked pears.
Here is a delicious and simple recipe for making a pear tart of your own that my fairy friends shared with me.
I have included a gluten free version for the crust. The Fairies and I hope you like it!
PIXIE PEAR TART RECIPE
1.) Preheat your oven to 425 degrees and gather together your ingredients.
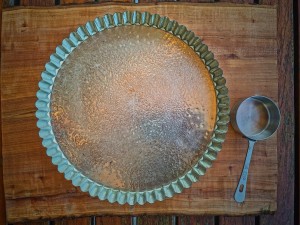
2.) Spray bottom and sides of an 11″ tart pan with organic olive oil and set aside.
RECIPE for CRUST and CRUMBLE TOPPING:
(Regular Flour or with Gluten Free Flour) :
1- 1/2 cups plus 2 Tablespoons All Purpose Flour or for Gluten Free use
( 1- 1/2 cups Bob’s Red Mill Gluten Free Baking Flour Mix)
1/4 teaspoon salt
1 Tablespoon sugar OR: I use (1 teaspoon ZING a stevia / sugar blend)
1/4 cup organic canola oil
2 Tablespoons coconut milk, canned or from carton
1/2 teaspoon almond extract
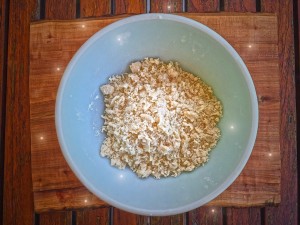
2.) In large bowl stir together 1-1/2 cup flour, 1/4 teaspoon salt, and 1 Tablespoon sugar (or 1 Tablespoon Zing stevia) and set aside.
3.) In small bowl whisk together 1/4 cup canola oil, 2 Tablespoons coconut milk and 1 teaspoon almond extract. Pour this into flour mixture and mix gently with fork and fingers just to dampen. Mixture should be crumbly, you don’t want to over mix.
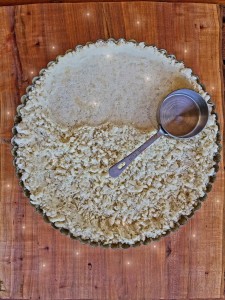
4.) Transfer dough to 11″ tart pan.
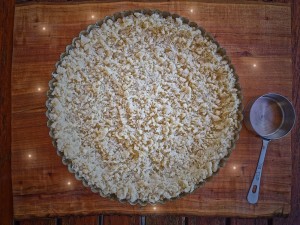
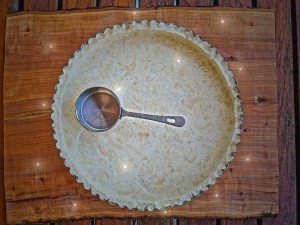
Spread crumbly dough over bottom and up sides of pan evenly, pushing with fingers.
I use a 1/4 metal measuring cup to press down and along and into sides of pan.
Set aside.
TART TOPPING INGREDIENTS:
8 or more, nice sized ripe pears
2 Tablespoons cold butter sliced thinly
1/4 cup of white sugar or 2 Tablespoons stevia to taste if you must add sweetener. (I personally prefer not to add sweetener of any kind, the natural fruit is sweet enough for my liking)
1/4 teaspoon salt
1 tablespoon of brown sugar
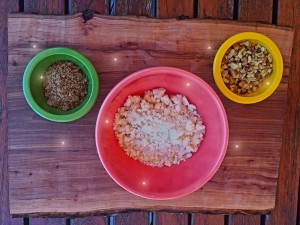
A handful of chopped walnuts ( optional: you can also add some hulled sunflower seeds, Fairies love nuts and seeds.)
1.) In a small bowl mix together 2 Tablespoons of all purpose flour (or 2 Tablespoons gluten free flour mix), and 1/4 teaspoon salt and 2 Tablespoons cold butter. Use a pastry blender or fork and fingers to mix up flour, sugar and salt with butter til crumbly. Set aside.
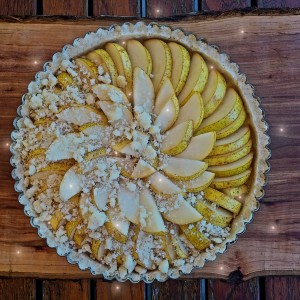
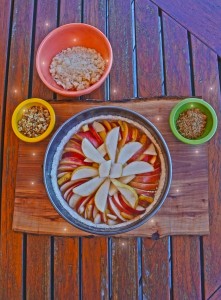
2.) Slice pears somewhat thinly and evenly and arrange slices in a circular pattern on top of dough in tart pan. Then arrange a second and third layer of fruit slices overlapping the previous layer.
3.) Have your flour mixture handy and spread evenly over top of tart. Slow down, take your time and enjoy the process.
Lastly dust the top of your tart ever so lightly with the brown sugar.
4.) Finally your tart is ready to place in the oven.
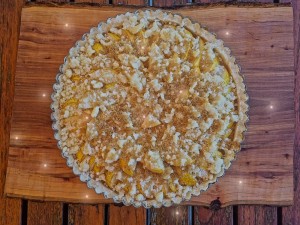
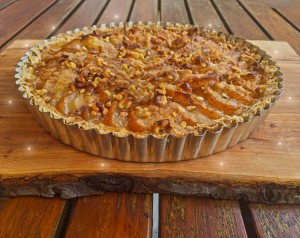
Bake at 425 degrees for about 45 minutes, until you see thick bubbles and your crust has turned a light golden brown.
5.) For you nut lovers, I add the walnuts and seeds during the last 15 minutes of baking time.
6.) Cool completely on wire rack before slicing. Serve with whipped cream or ice cream…or both!
Folks often comment about an added something in the tarts I make that they just can’t put their fingers on…a certain flavor which they say eludes description.
I just smile, because in fact there is a bit of fairy dust in every tart I bake, courtesy of the Home Place Fairies.
Feel free to experiment and make this recipe your own special kind of magic. Try hazel nuts instead of walnuts…
Try peaches instead of pears.
Apples instead of peaches…
A mixture of two fruits or a combination of three!
You can even add blueberries!
(Though if you do I suggest you add them during the last 20 minutes of baking, as their small tender skins can crisp up slightly and burn.)
Enjoy.

